It seems like every time I think I’ve finally achieved an organized kitchen, I open a drawer and it’s a jumbled mess. Or worse, I can’t find a specific tool I need right in the middle of a recipe. I asked a professional chef friend for her best tips on kitchen organization, and I thought I’d share with you, too.
Turns out, there is a way to tackle this enormous task without losing your mind, I promise! Plus, an efficient kitchen is the best kind of kitchen!

When you start the de-cluttering process, you’ll want to divide your kitchen into four categories:
1. Equipment, Tools, Utensils
2. Dishware, Glassware
3. Refrigerator, Freezer
4. Pantry, Dry Goods
Each of these has its own organizing technique, so stay tuned for tips on whipping everything from dishware to your pantry into tip-top shape! Today, we’re going to focus on item number one.
It’s a daunting task, but once you’ve tackled all your equipment, organizing the rest of your kitchen will be a breeze. Let’s get started!
How To Organize Your Kitchen Tools & Equipment
1. Inventory
First, we need to do some inventory. Lay all tools out where you can see everything. Begin by grouping items into categories: baking equipment, knives, utensils, cleaning supplies, towels, potholders, dishware… you get the idea. Look over everything and discard anything that is damaged or unsafe (oven mitts with holes, pots that are missing a handle, etc.).
This is also the perfect opportunity to update items or weed out anything you no longer use. Make a list of anything that needs to be replaced. For the unwanted items, collect and save them for a future garage sale or donate to a local charity.
2. Groups
Next, group items by task. Rolling pins, cookie cutters, pie and cake pans are all baking equipment and would likely be used together. Decide where you most often do your baking and try to accommodate all that equipment within close proximity. You’ve just created a baking station! Do the same for cleaning and dishwashing supplies arranging those items within easy reach of the sink. Knives and cutting boards might be located on a work island or next to the stove.

3. Usage
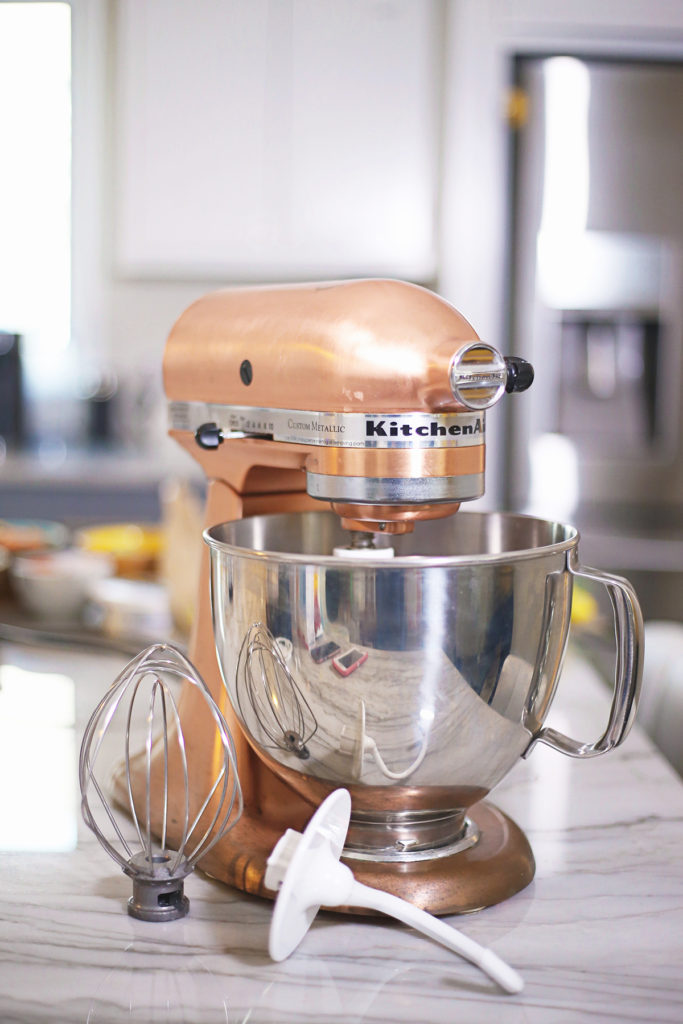
It’s also important to consider how frequently you use certain items. Some equipment will be used for multiple tasks (measuring cups, baking sheets) so you’ll want to put those in the most accessible location. In my kitchen, I always keep my mixer on the counter because I use it all the time… and because I’m in love with how beautiful it is. Specialty tools that don’t get out as much can be put in harder-to-reach areas so they’re not taking up useful space.
4. Organize
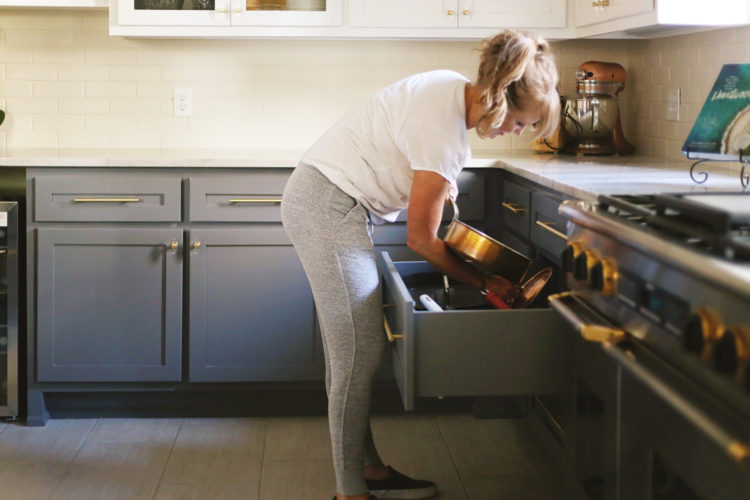
The last step is organizing each space—drawers, cabinets, and shelves—so that you can quickly see what you need and access it. Drawers crammed with a jumble of spatulas, spoons, and whisks make it frustrating to find what you need and slow down the cooking process. Again, think about the tools that you use almost everyday. The goal is that you always know where to reach for what you need.
Congratulations! Your kitchen tools are now organized in both an immaculate and totally practical way. And, by streamlining the layout of your equipment, your cooking time will be so much faster. Do you feel like you could probably host your own cooking show now? Because you should.


2wish me luck
of course!
Come home for a weekend and help me!
Okay – you help me, I’ll help you 🙂